|
Please help to keep this site free. If you like the info provided here for you, please click the link below and donate any amount you like. Thank you for helping!
05/10/08 Hello an welcome to page #4 Another long delay in updating the site but life gets in the way sometimes. I've had more medical issues and got laid off on March 1st due to the economic down turn. Good news is I have lots of time to work on the plane while I find a new job!
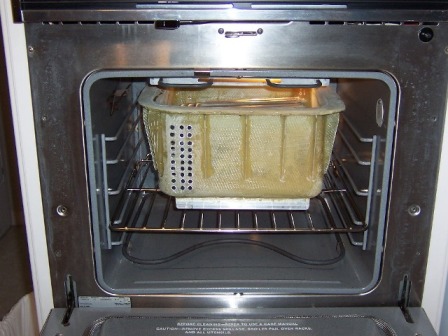
Ah yes, nothin says lovin like a new composite oil pan post curing in the oven!!!! Took it up to 275 degrees real slow so it should have no issues. I milled the pan rail to get it flat with the new CG engine plate so it will have a good seal when finally mounted.
Picked up my new CG engine, starter mount and Lord ring and bushing kit at Lakeland for the Sun and Fun meet. Got to spend some time with Randy and sat in on her vacuum bagging class. I wish I had used this technique from the start. Really makes a nice looking part when your done. I still have some small parts to make and will buy a pump and use it for the rest. Also got to look over the complete engine mount they had on display and got a good idea of what I need to do when I weld up the remaining struts to the Lord ring from them. Real quality workmanship! I recommend them for all your parts for your build.
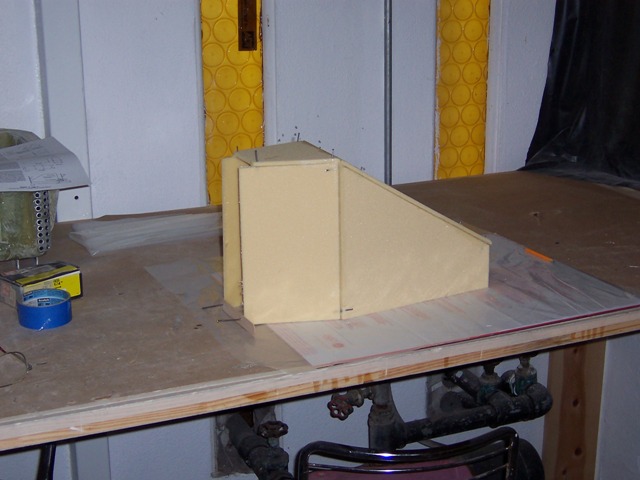
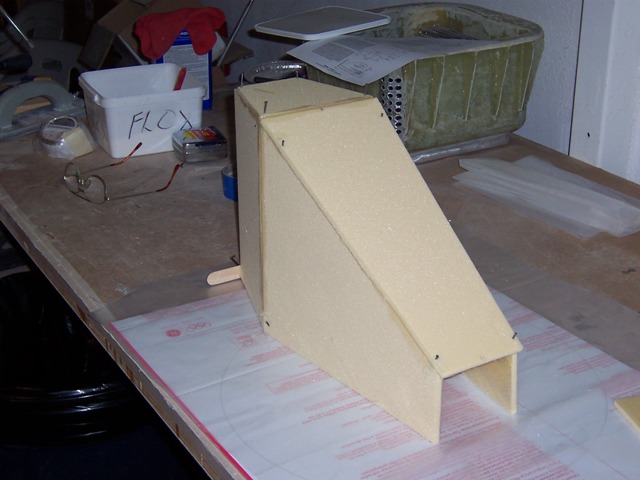
A little different front wheel well. This gives me a flat surface to mount something on if I need it.
This came from Wicks. I didn't like it when I first got it and almost sent it back. After I looked at it for a while I disassembled it and re formed the levers, drilled out some holes to lighten it up all over, then then polished it out with a buffing wheel to get all the casting flash marks and blemishes off it and then sent it out to be powder coated. It looks a lot better and its more functional for me
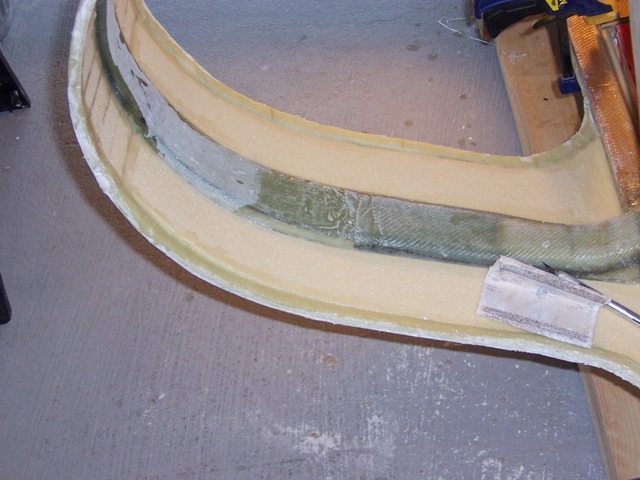
This is a shot of the inside of the roll bar layups after the foam and bid layers were done. The plane is turned over on its right side on the rotisserie.
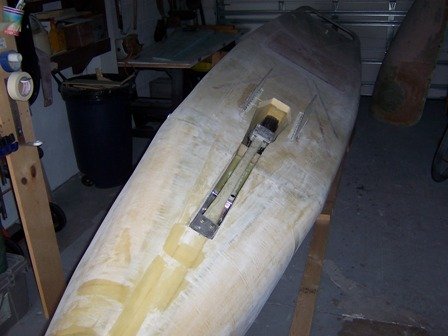
I decide to blend in the upper longerons for looks, strength as well as making the layups easier to do. I used 1/2 " foam and sanded from the longeron down to a feather edge at the bottom and then 2 plys of bid down both side of the cockpit from the longeron down onto the inside walls.
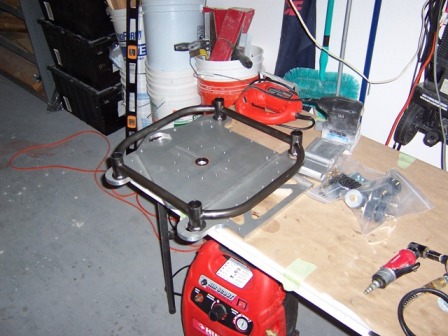
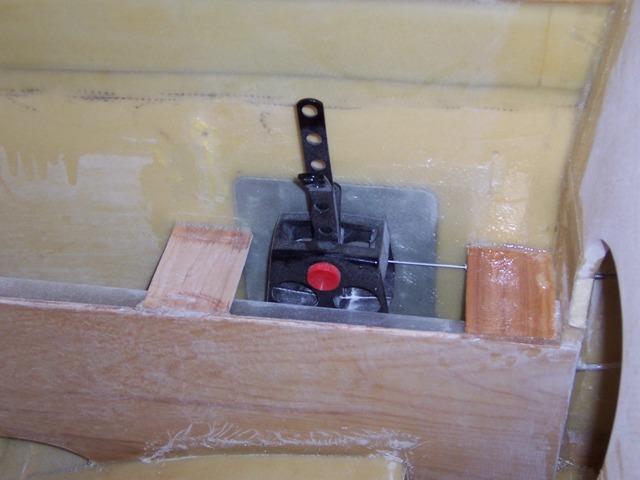
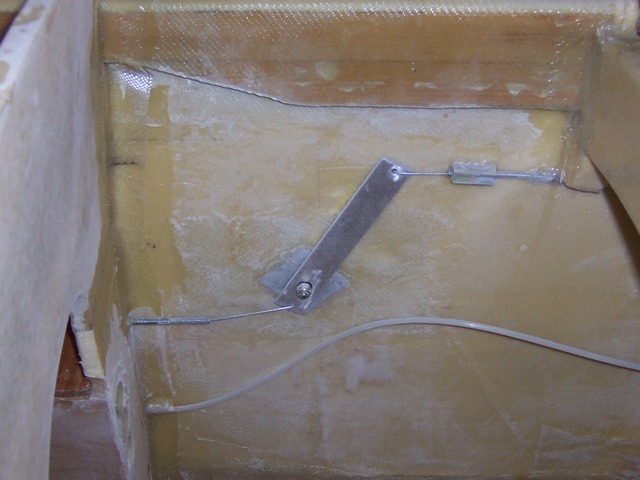
I fabricated this "multiplier" for the step retract I made. I needed more travel from the one lever I am using from the throttle quadrant. The cable the goes down to the retractable step
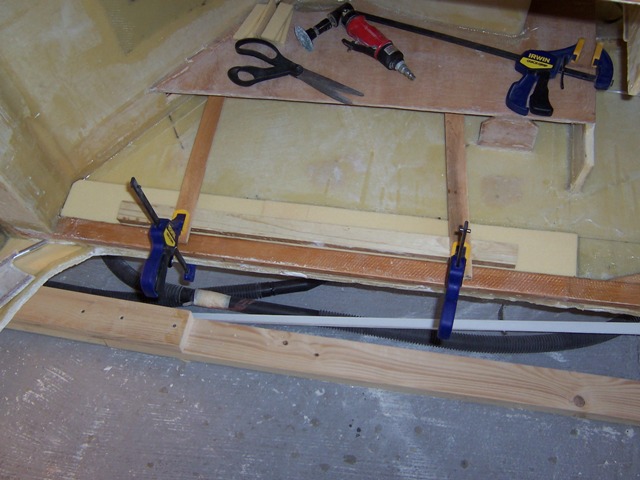
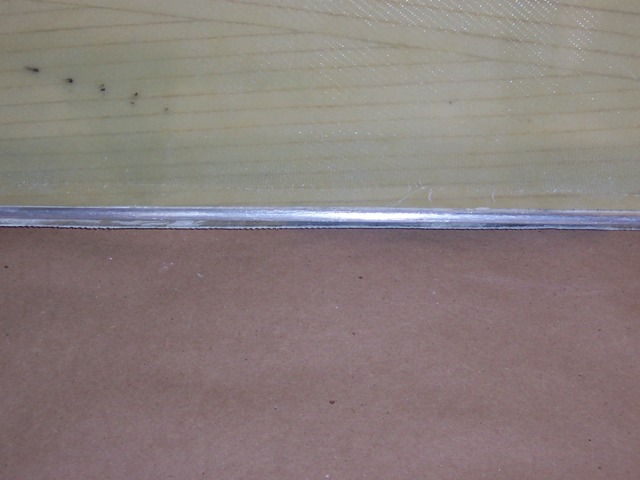
This is the rear canopy gull wing door inside. I installed a solid 1/4" aluminum tube the length of the door and the ends will rotate inside a 1/4" ID aluminum tube that will be foxed into the top of the canopy main structure. Haven't decide how I will actuate it as of yet.
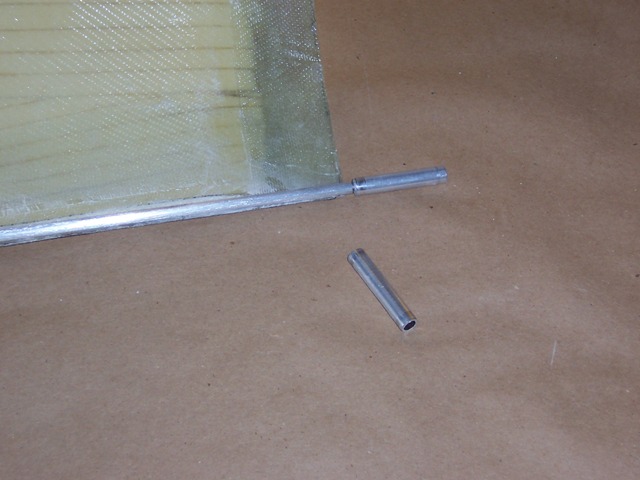
This is the end of the door with one of the 1/4" ID tubes installed with the one for the other end in the fore ground.
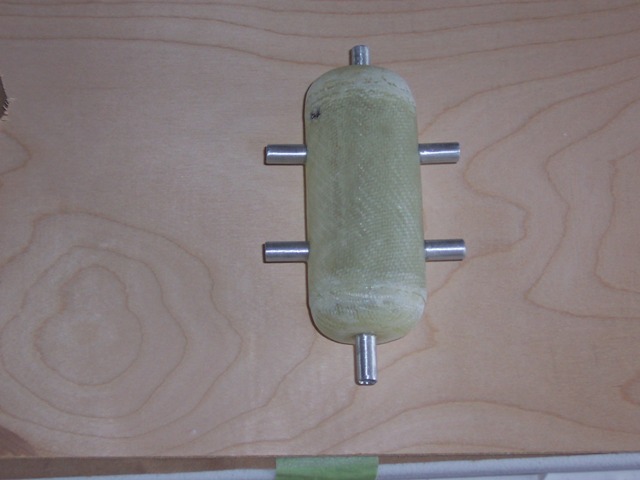
Variation on a theme. I got this idea from James Redmon"s site. I decide too use 3/8" tube floxed into place instead of all the fittings. I will use gas proof lines an I am thinking of mounting it in the engine compartment instead of inside the cockpit for room considerations. I think I will run the vent lines from the strakes and route them completely out through the top of the fire wall with the aluminum lines and then connect them from there to the manifold. The drain and air vent will be routed out to the bottom. Thanks James!
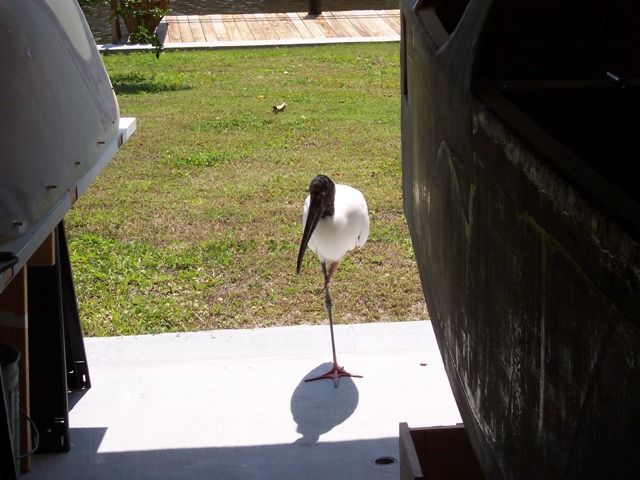
"Pelican Pete" stopped by again. I'm not too sure but I think he is my inspector! He shows up every once in a while and walks up to the back of the shop and just hangs out. After he gets comfortable, he picks up one leg and just chills out with me and looks over the plane. As long as I don't move too fast or make too much noise he stays right there. Seems intrigued with this whole canard idea! I tried to feed him but he don't like the menu I guess. One of life's little pleasantries.
With much sadness I decided to sell the project. With the prospect of having to re locate, the expense of moving it and having to store it because of looking for a new job as well as my continuing back issues, I felt it was the right move for now. It went to a good home and I feel it will one day take to the air as I intended. Thanks to all who have followed the build and I hope I have inspired some to build your own plane your way. Press on! Tom
|
